SERVICES
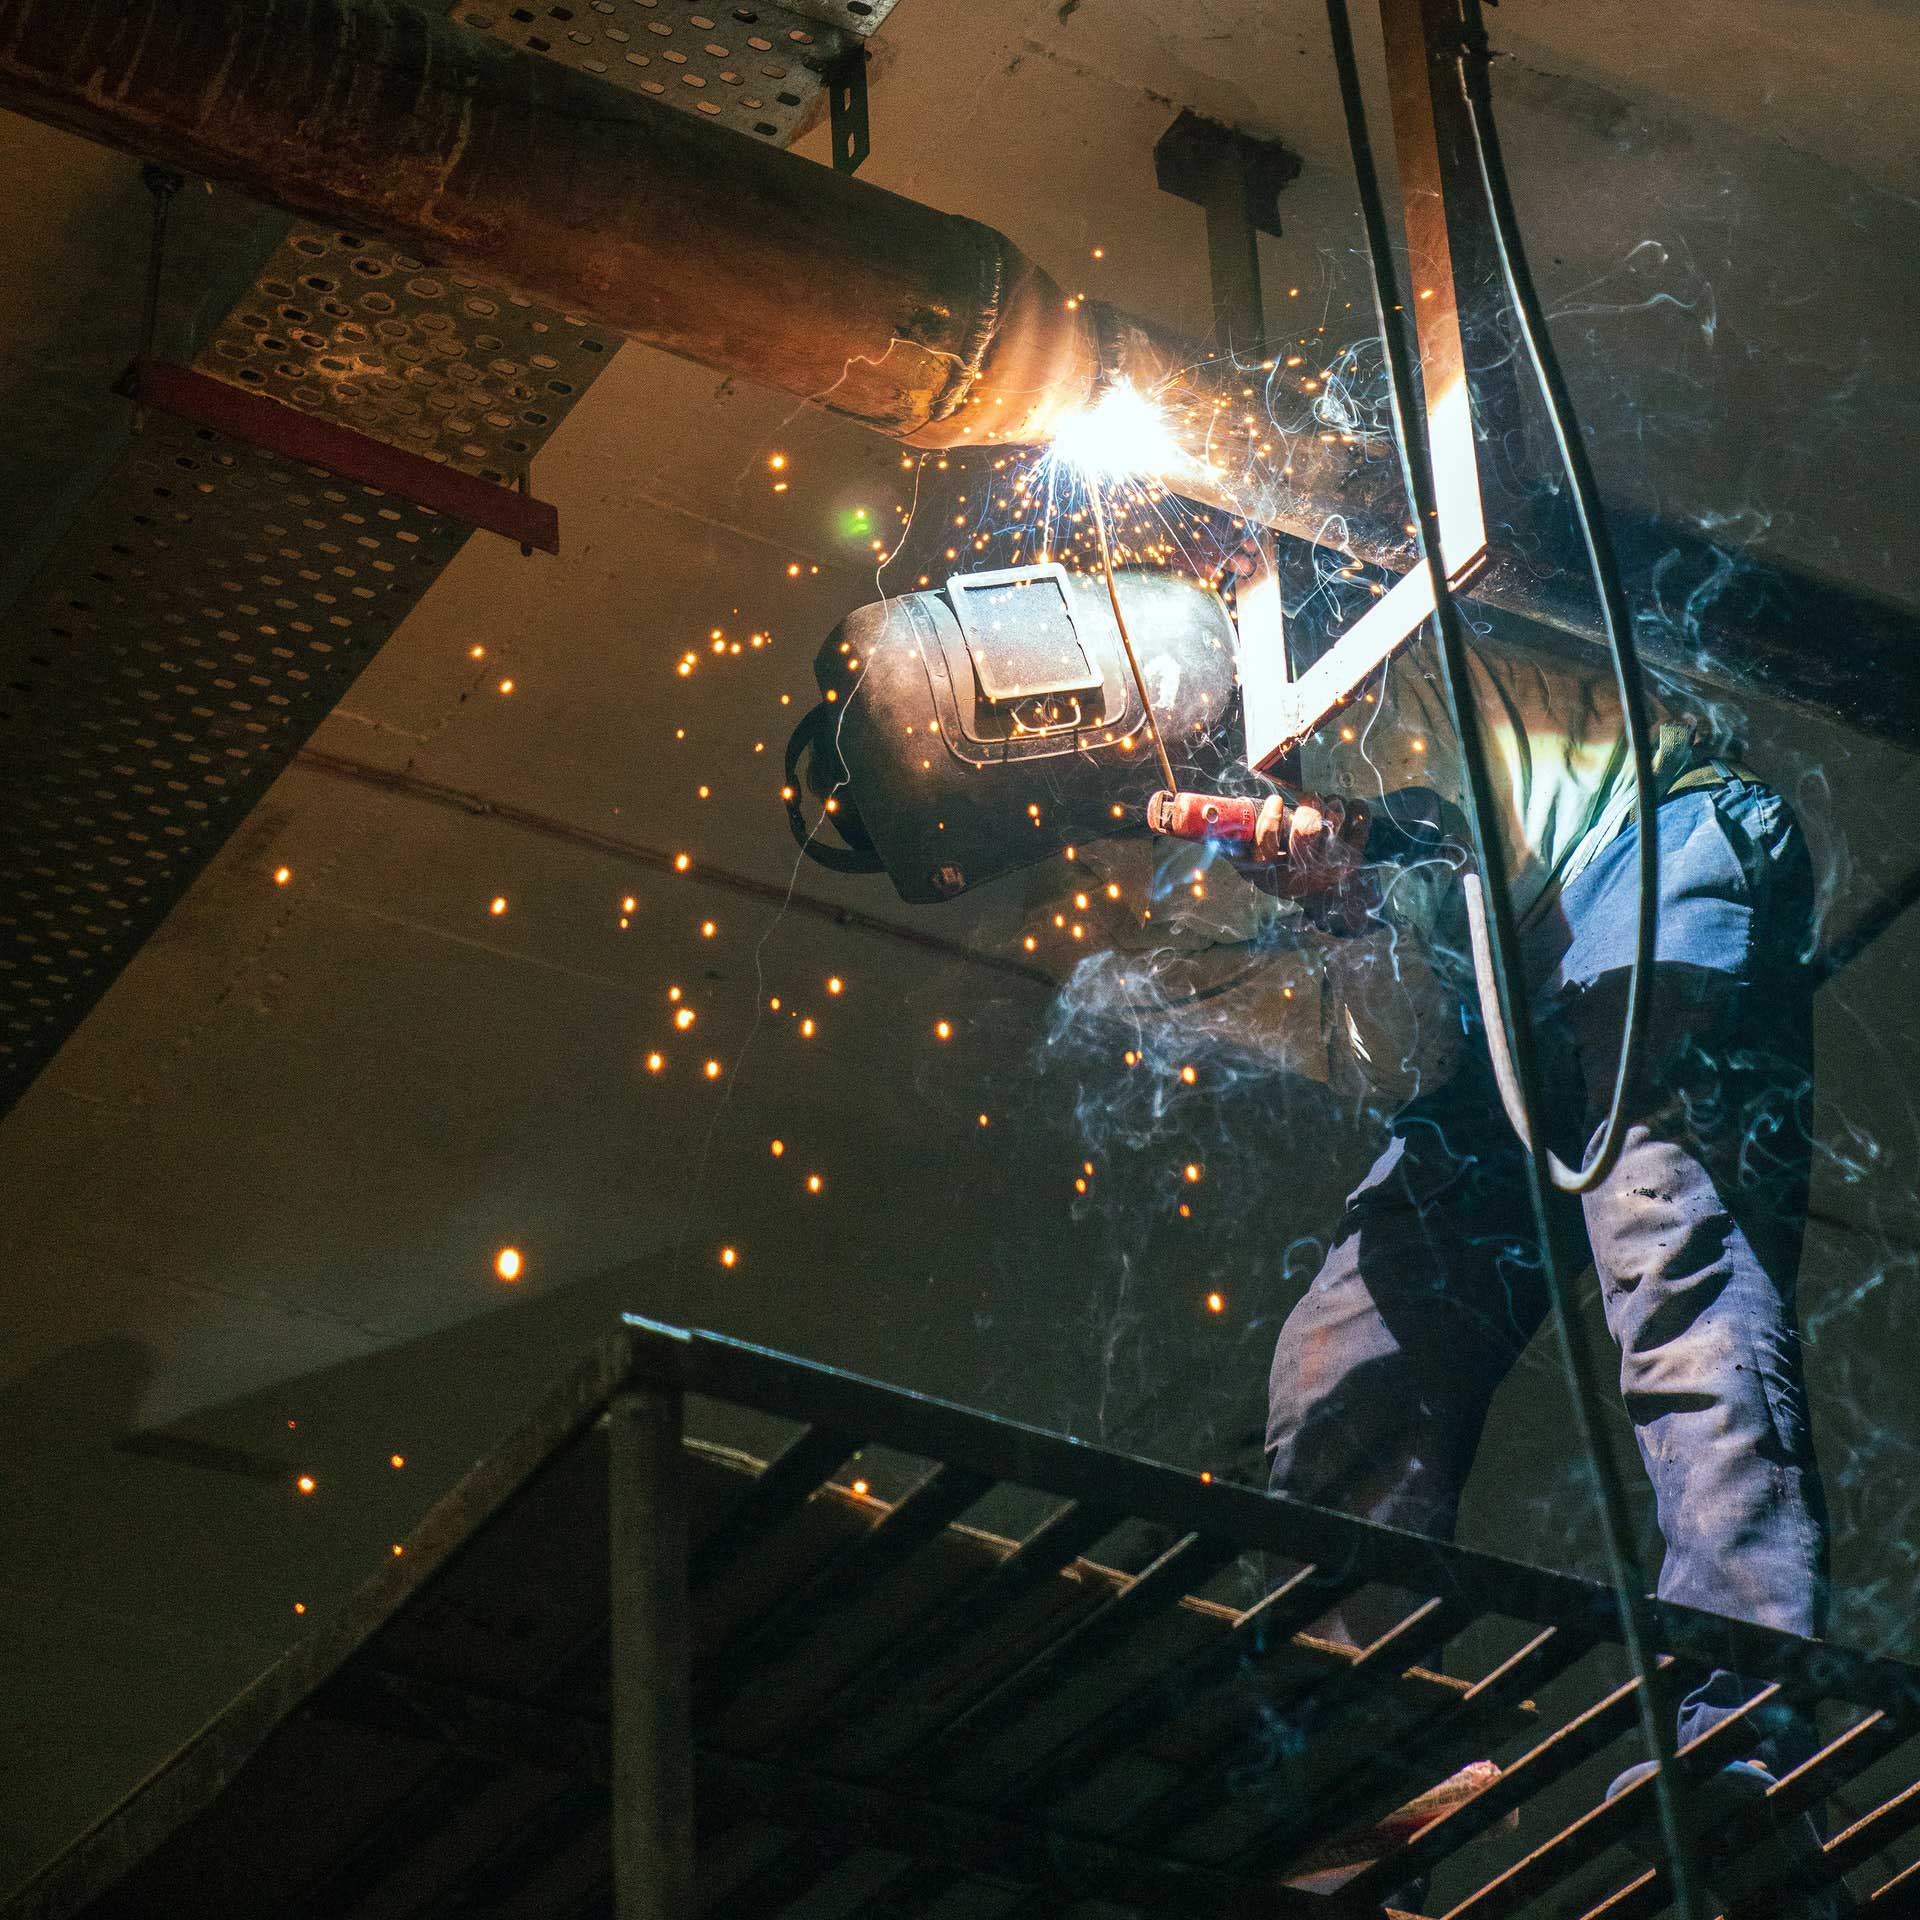
Welding Inspection & Supervision
Structural Steel Surveillance
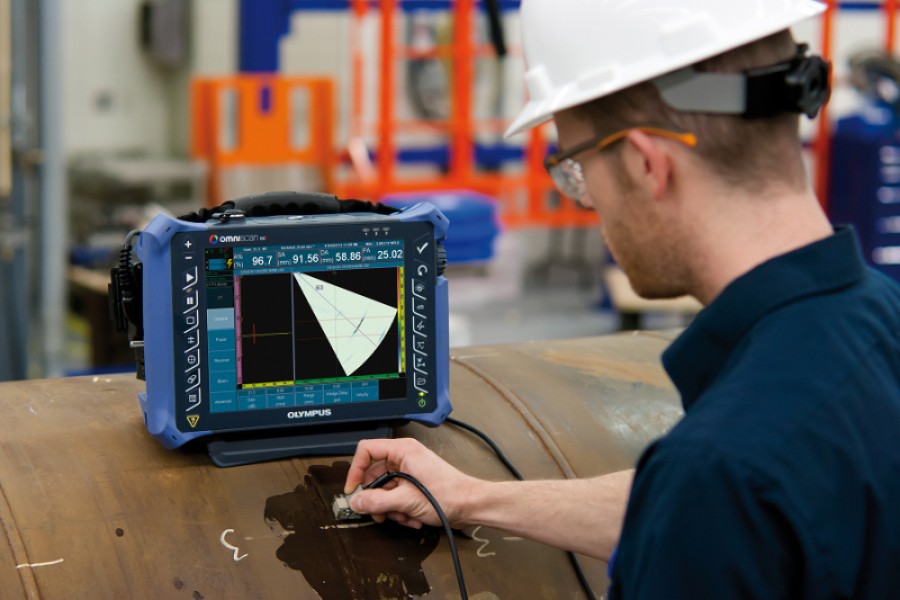
Ultrasonic Testing
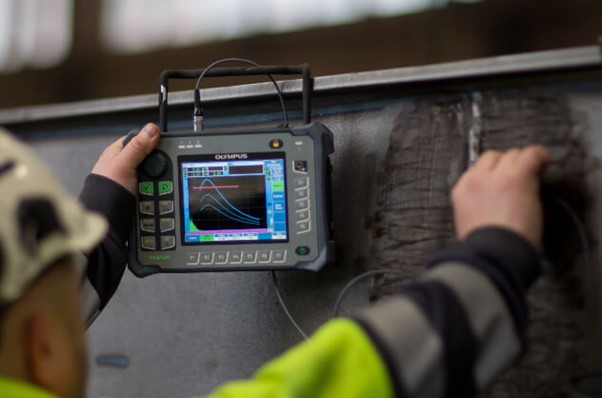
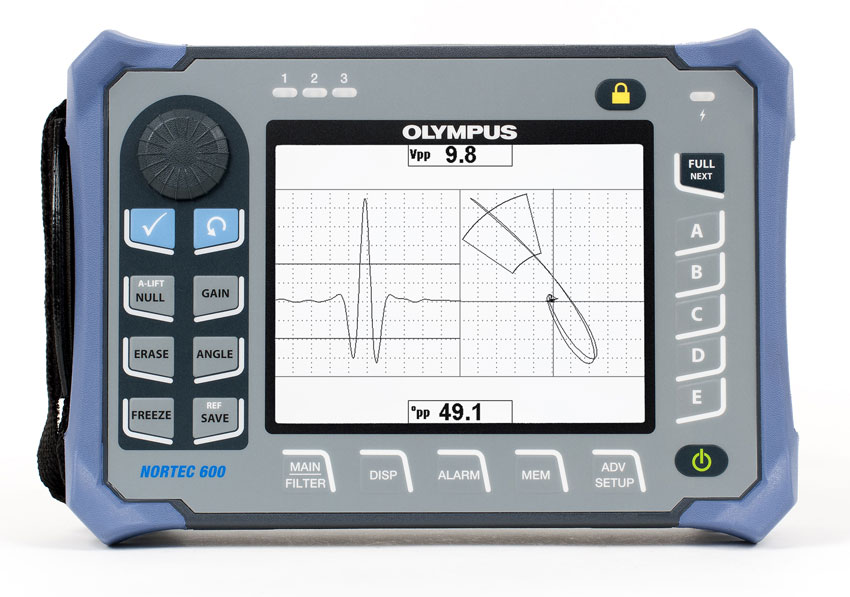
Ultrasonic testing (UT) uses high frequency sound energy to conduct examinations and make measurements. Ultrasonic inspection can be used for flaw detection / evaluation, dimensional measurements, material characterisation and more. Ultrasonic examination is most conducted on steel and several other metals and alloys including composites. Ultrasonic examination is commonly used in industries like aerospace, automotive and other transportation industries.
One of the main advantages of ultrasonic examination in comparison to other non destructive testing methods is that it offers greater accuracy in verifying the depth of internal flaws and the thickness of parts with parallel surfaces.
To demonstrate the general inspection principle, a typical pulse echo inspection configuration as illustrated below will be used.
Eddy Current
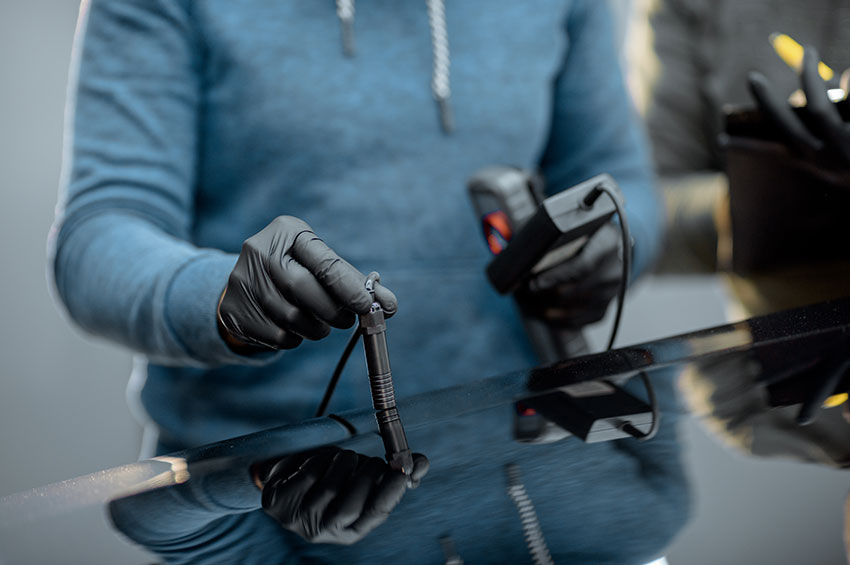
Continuous wave eddy current testing is one of several non-destructive testing methods that use the electromagnetism principle. Conventional eddy current testing utilities electromagnetic induction to detect discontinuities in conductive materials.
Benefits
•Detection of very small cracks in or near the surface of the test part
•Physically complex geometries can be investigated
•Electrical conductivity measurement
•Coating thickness measurement
•Provides immediate feedback
•Portable
•No couplant is required
Phased Array Ultrasonic Testing
Phased array ultrasonic systems utilize multi-element probes, which are individually excited under computer control. By exciting each element in a controlled manner, a focused beam of ultrasound can be generated. Software enables the beam to be steered. Two and three dimensional views can be generated showing the sizes and locations of any flaws detected.
Advantages
•Beam focusing
•Beam steering
•Linear or sectorial scans
•Permanent data storage
•Display enables flaw visualisation
Liquid Penetrant Testing
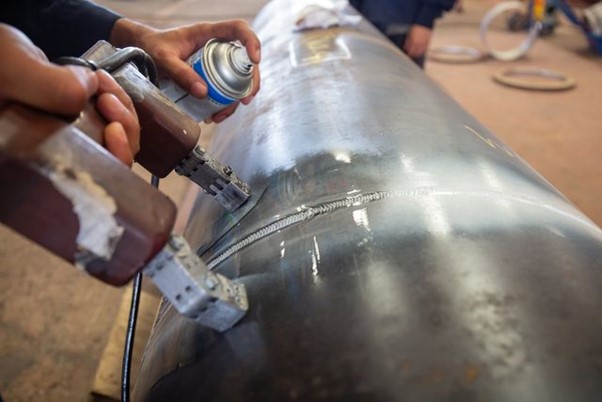
Liquid penetrant testing is yet another form of non destructive testing used for finding surface defects only.
It is the most commonly used low-cost inspection technique for detecting surface-breaking defects in all non-porous materials.
Penetrant testing is a physical and chemical test used for detecting and making visible to the naked eye, surface related discontinuities in non-porous metals.
Solvent removable penetrant is the most common application. Evaluation is made with white ambient light.
Water washable penetrant is a rapid and effective means of inspecting large areas or in locations where the solvent would have an injurious effect upon the material or personnel. The inspection is usually made with white light.
Fluorescent penetrant removable by both solvent and water and with evaluation made under ultraviolet light is the most sensitive of the penetrant methods for inspection. A darkened environment is necessary for inspection under the black light.
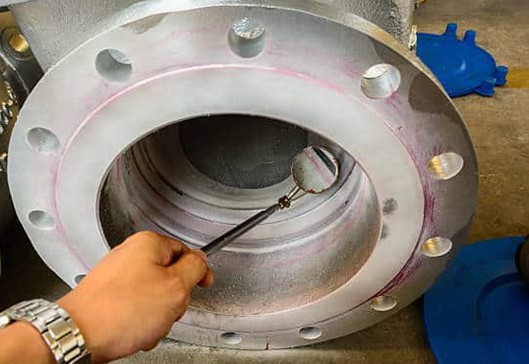
Visual Examination
Visual Examination is an improved visual inspection method that enables acquisition of visual data though various devices like video borescopes, push cameras, pan/tilt/zoom cameras and robotic crawlers. It is commonly used when direct visual examination is impaired or where access is limited by elements like time or atmospheric conditions.
It is most commonly used as maintenance tool to inspect the functionality of assets. Visual examination offers greater inspection coverage, inspection repeatability and data comparison and hence is very popular.
The extent of the examination shall be defined in advance by an application standard, or by agreement between the contracting parties.
The examiner shall have access to the necessary inspection and production documentation required.
Welds shall be examined in the as-welded condition while physical access is possible, and sometimes it is also necessary to examine after surface treatments.
Visual Scanning
Visual scanning, to determine that all welds called for in the drawings are included and to detect gross defects.
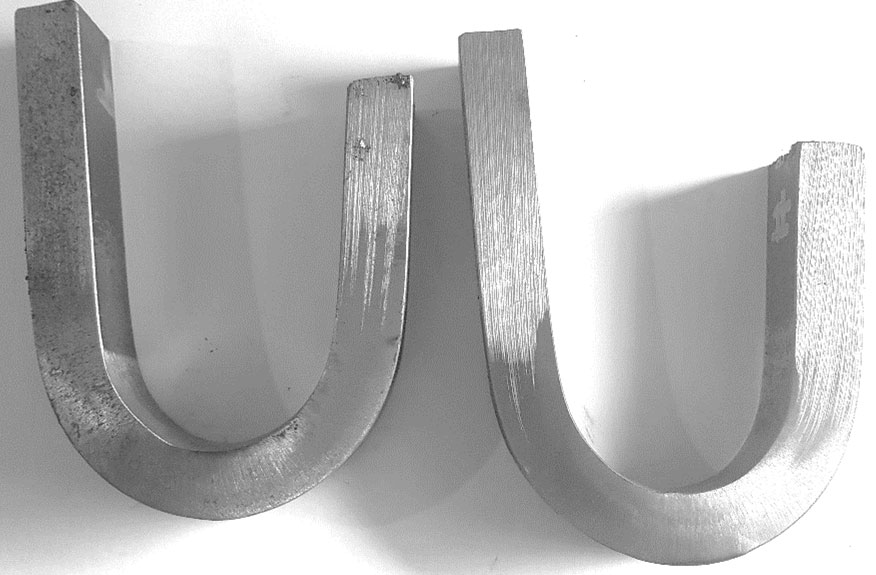
Bend Testing
A mechanical test carried out on a section of weld, to prove non prequalified consumables, materials and weld joint preparations used in weld procedure specifications.
Hardness Testing
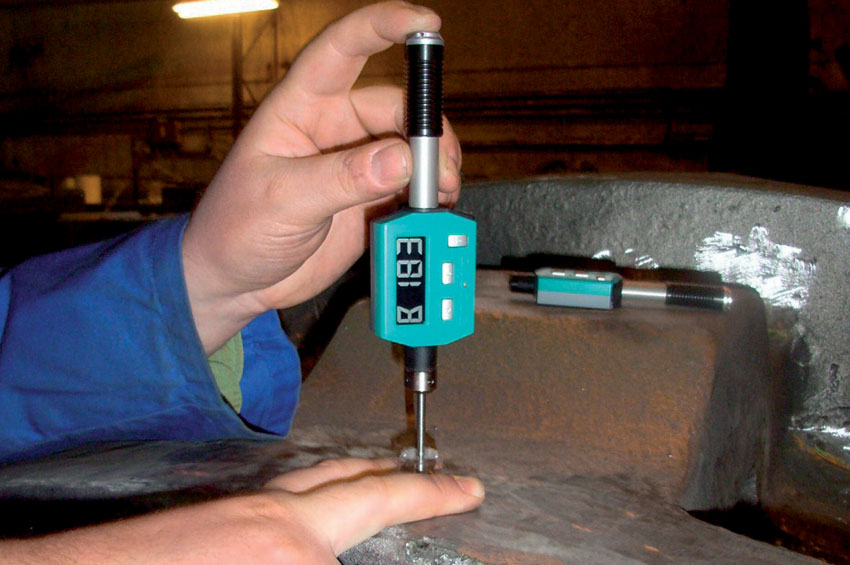
Mechanical test for the qualification of weld procedures employing consumables not prequalified.
Welding Machine Calibration
Required for measuring essential variable whist welding is in operation. Important for the welder operator to have a calibrated unit to work to WPS amperage and voltage parameters.
Welding Procedure Development & Qualification
Our highly trained technical staff produces this certified document to guide welders to the accepted procedures so that repeatable and trusted welding techniques are used.
A WPS is developed for each material alloy and for each welding type used. Specific codes and/or engineering societies are often the driving force behind the development of a company’s WPS. A WPS is supported by a Procedure Qualification Record (PQR or WPQR). A PQR is a record of a test weld performed and tested (more rigorously) to ensure that the procedure will produce a good weld. Individual welders are certified with a qualification test documented in a Welder Qualification Test Record (WQTR) that shows they have the understanding and demonstrated ability to work within the specified WPS.
Welder Operator Qualification
To qualify a welder, the welder will weld a test sample to the relevant certified weld procedure specifications.
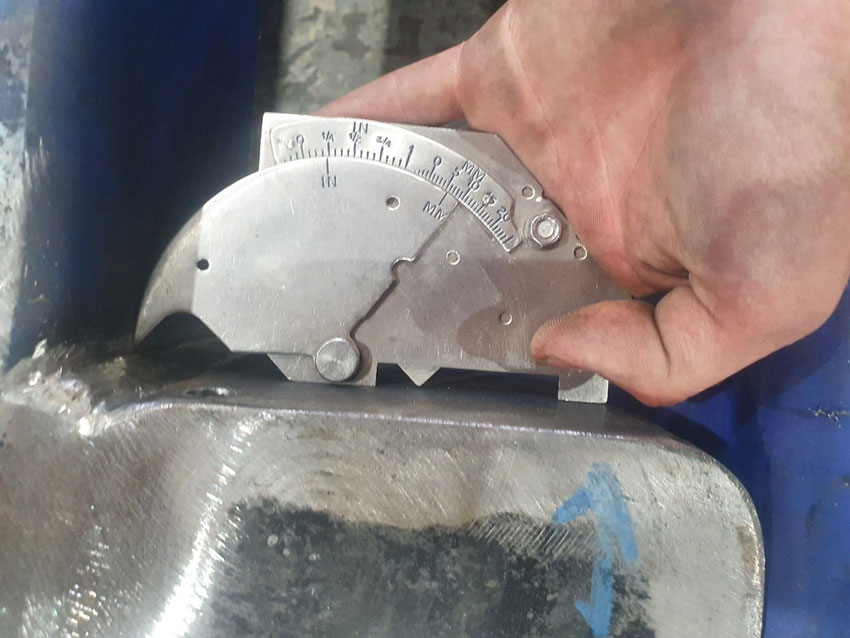
Ultratest will then perform a Macroscopic Examination of the weld to qualify the welder to these specifications.
Ultratest develop and certify weld procedures and welder qualifications to the following standards.
AS1554 Parts 1 to 6
AS3992
ASME IX (9)
Consulting & Advising
NACE Coating Inspection
Ultratest have highly trained NACE Coating Inspectors who carry out inspection during the coatings system installation to ensure that the system is installed within the intended design parameters. This mission is accomplished through emphasis on industry practices, standards and training. Extensive downtime for repairs and re-coating are minimized, therefore providing maximum utilization of the asset for its intended service and revenue generation lifetime.
Magnetic Particle Testing
Magnetic Particle Testing – (MPI) is a non-destructive testing (NDT) process for detecting surface and shallow subsurface discontinuities in ferromagnetic materials such as iron, nickel, cobalt, and some of their alloys. The process puts a magnetic field into the part. The piece can be magnetized by direct or indirect magnetization. Direct magnetization occurs when the electric current is passed through the test object and a magnetic field is formed in the material. Indirect magnetization occurs when no electric current is passed through the test object, but a magnetic field is applied from an outside source. The magnetic lines of force are perpendicular to the direction of the electric current, which may be either alternating current (AC) or some form of direct current (DC) (rectified AC).

